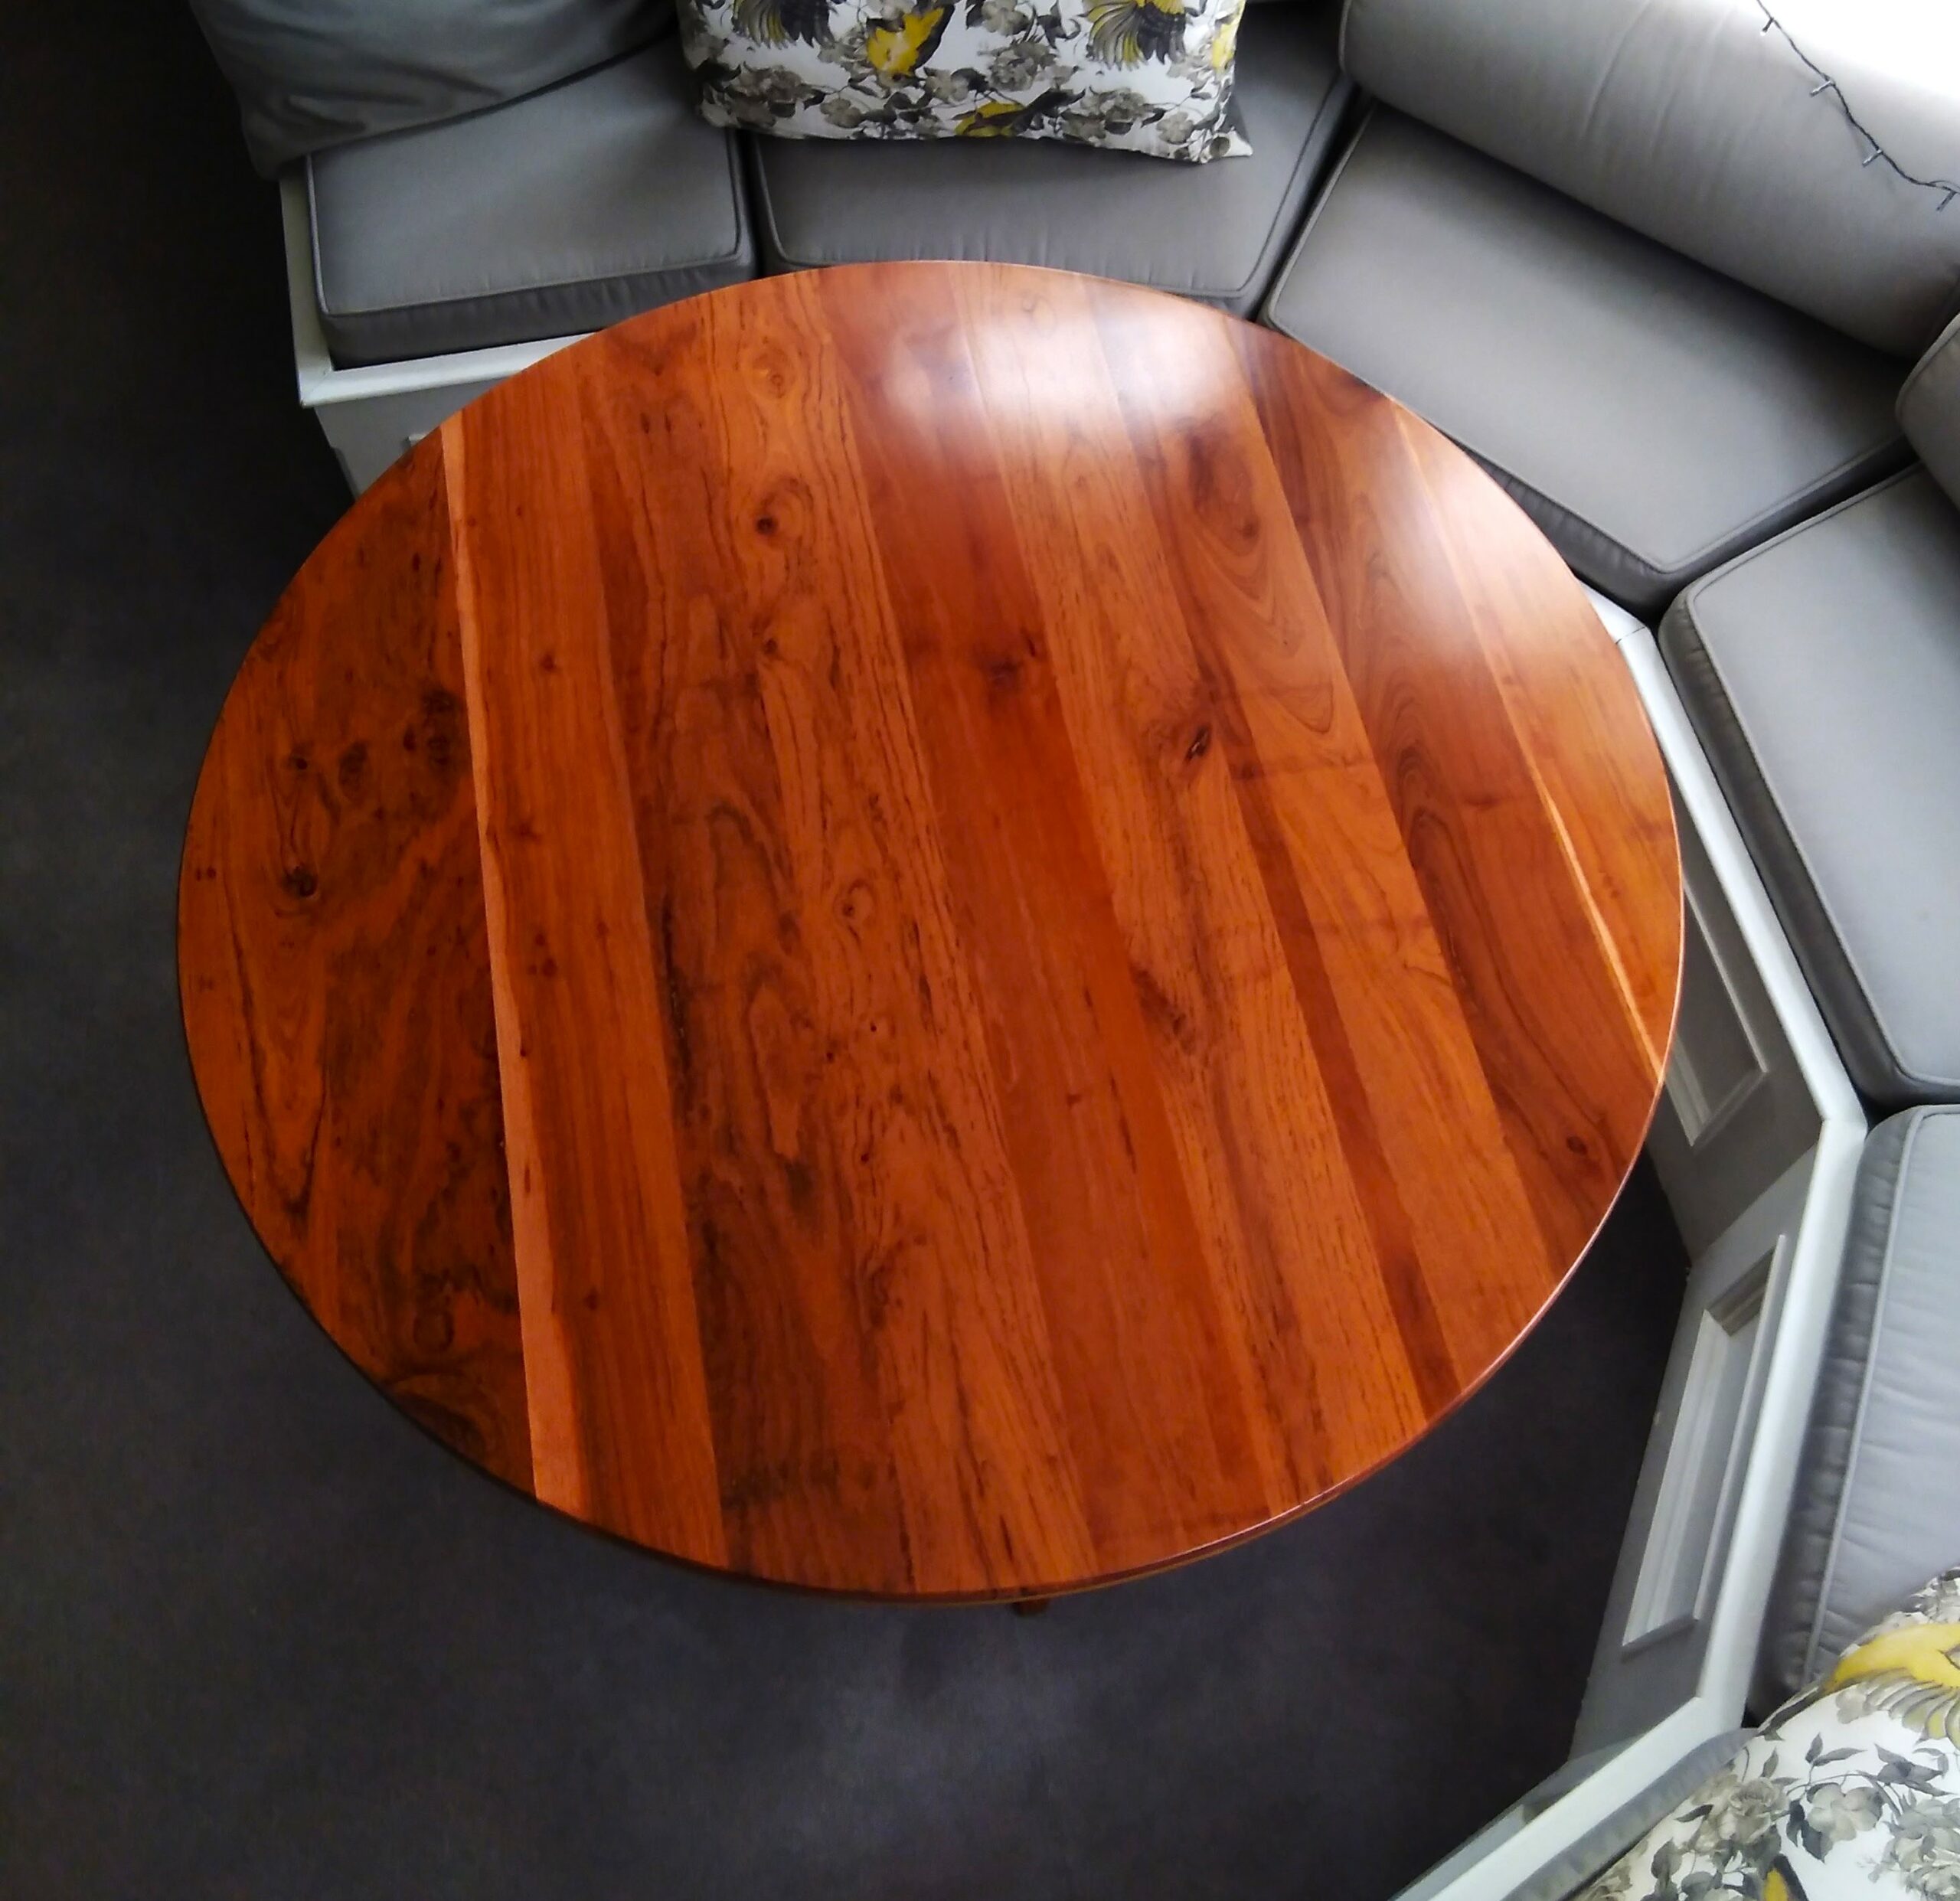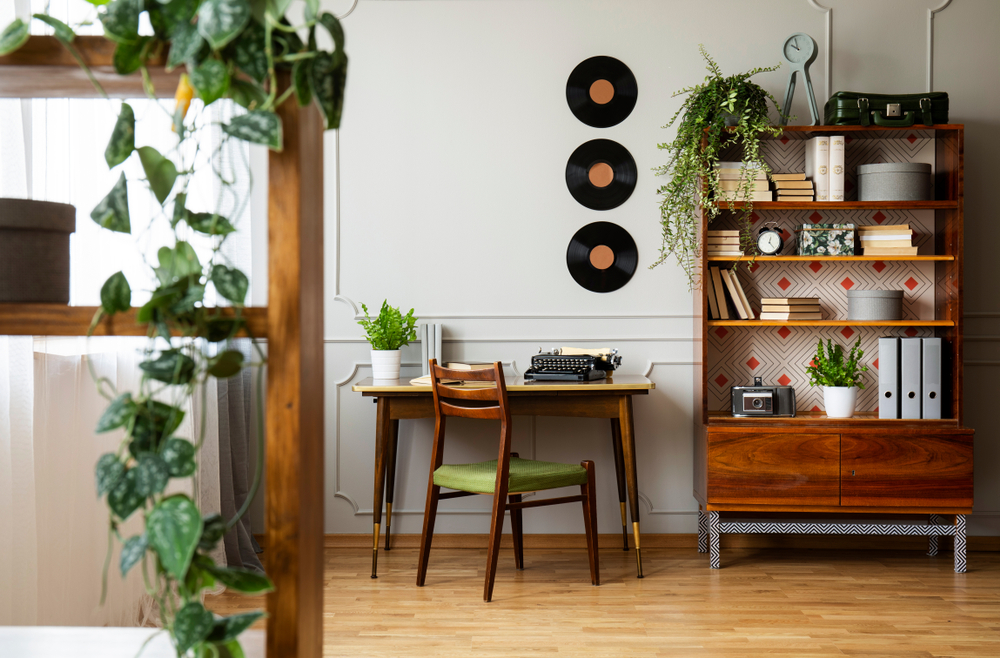

How we created an elegant dining table with a timeless design, using repurposed timber from an old bookcase.
A customer came to us with an exciting challenge: to use the timber from a bookshelf to make a round dining table with X-frame legs. The bookcase was made of mango timber and we calculated we had just enough to make a tabletop of a diameter of 104 cm. We then purchased some extra timber to create the legs.

After dismantling the bookshelf, we planned the boards obtained to get them all the same thickness.
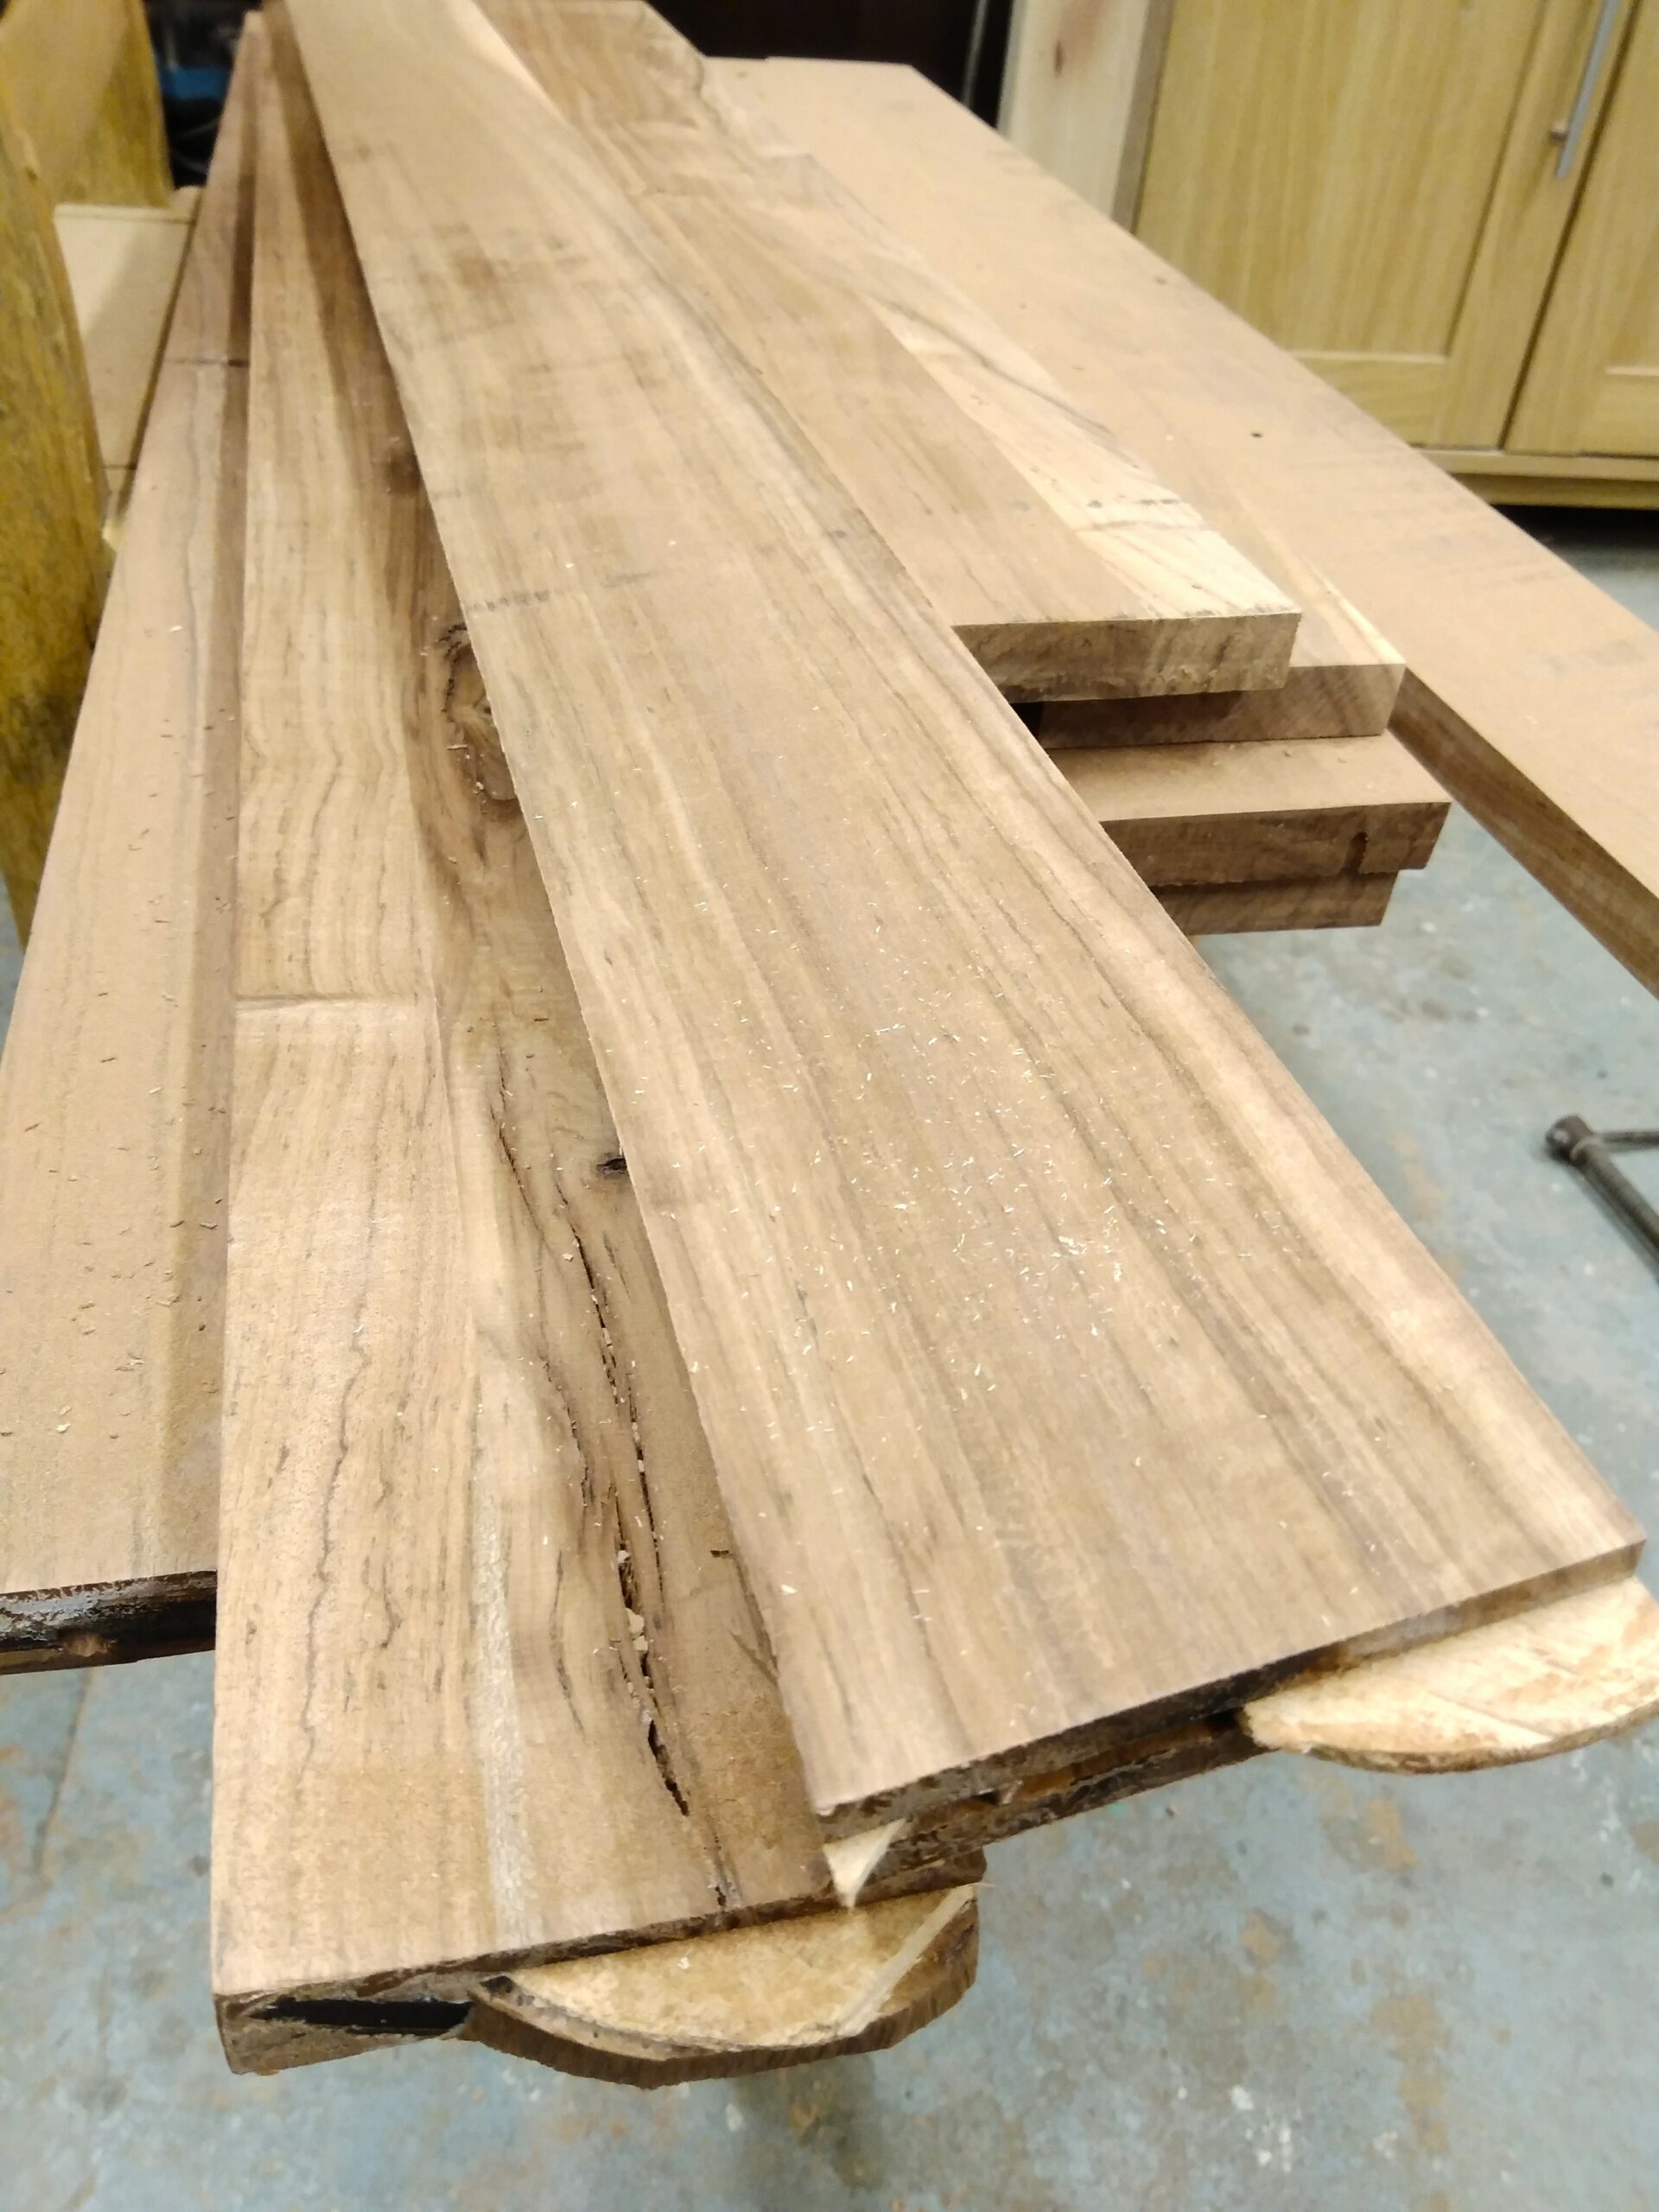
We created some tongues and grooves to assemble the boards and then we glued them together.

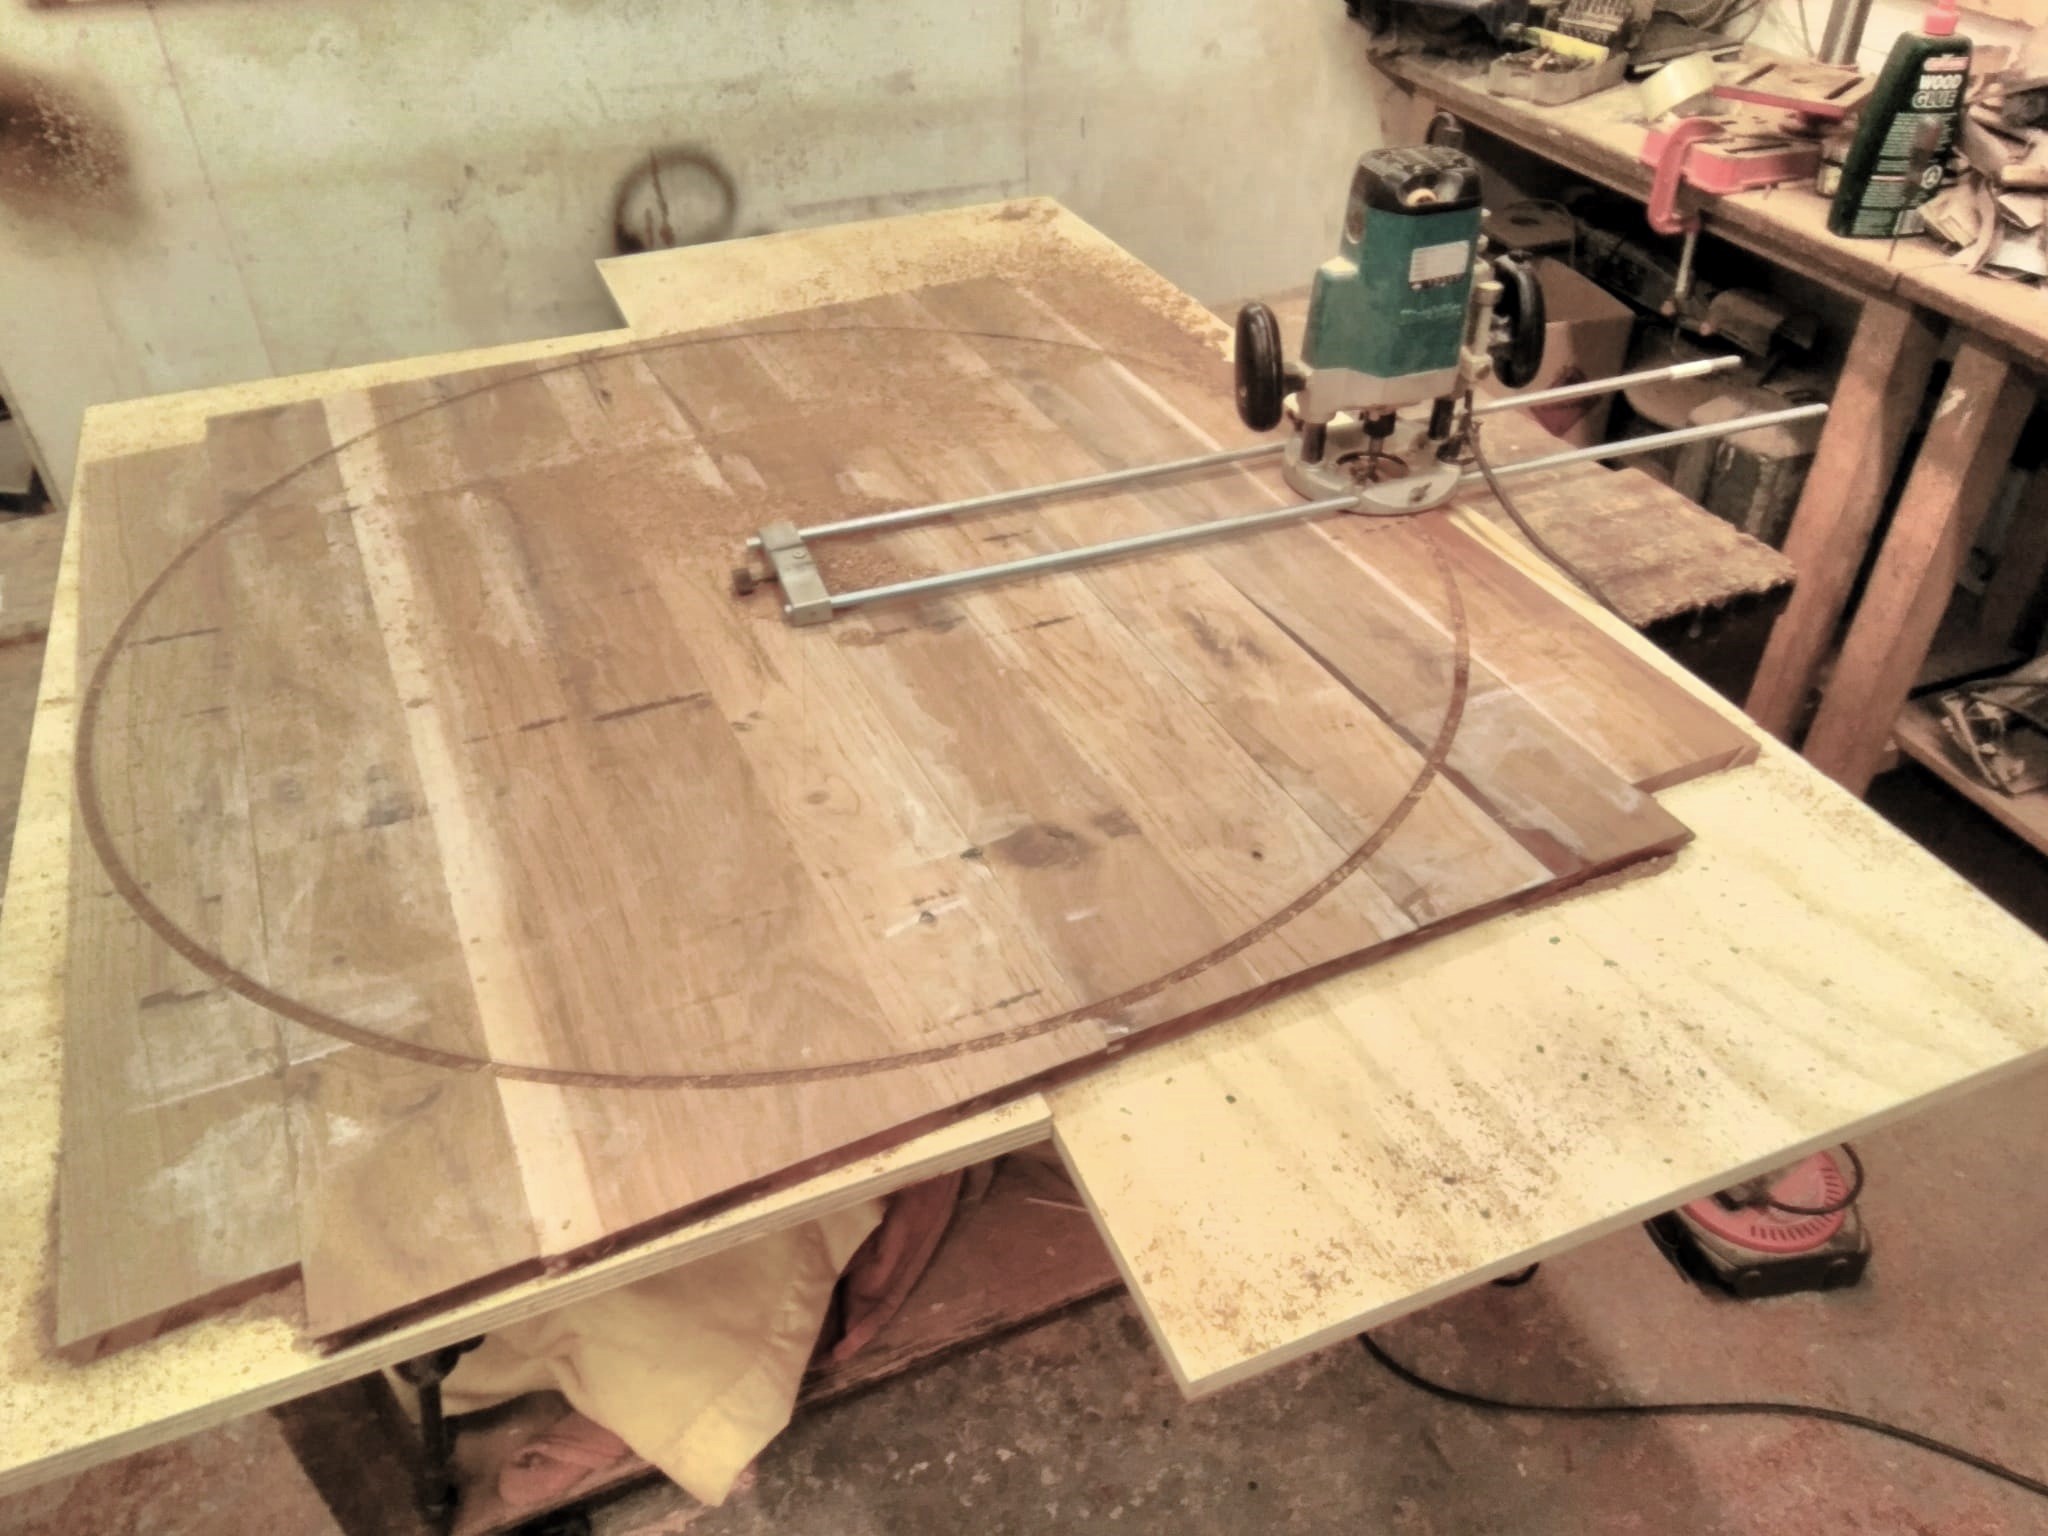
We then created a trammel bar to cut a perfect circle.
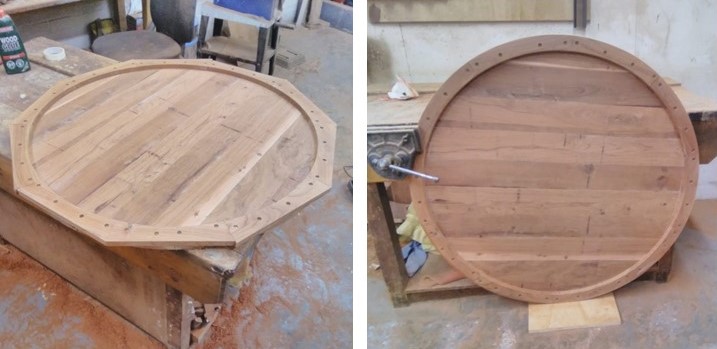
Because the boards were a little thin, we built up the thickness of the circumference by building a decagon consisting of ten blocks mitered at 72 degrees on each edge. We then trimmed the edging flush to the circumference.
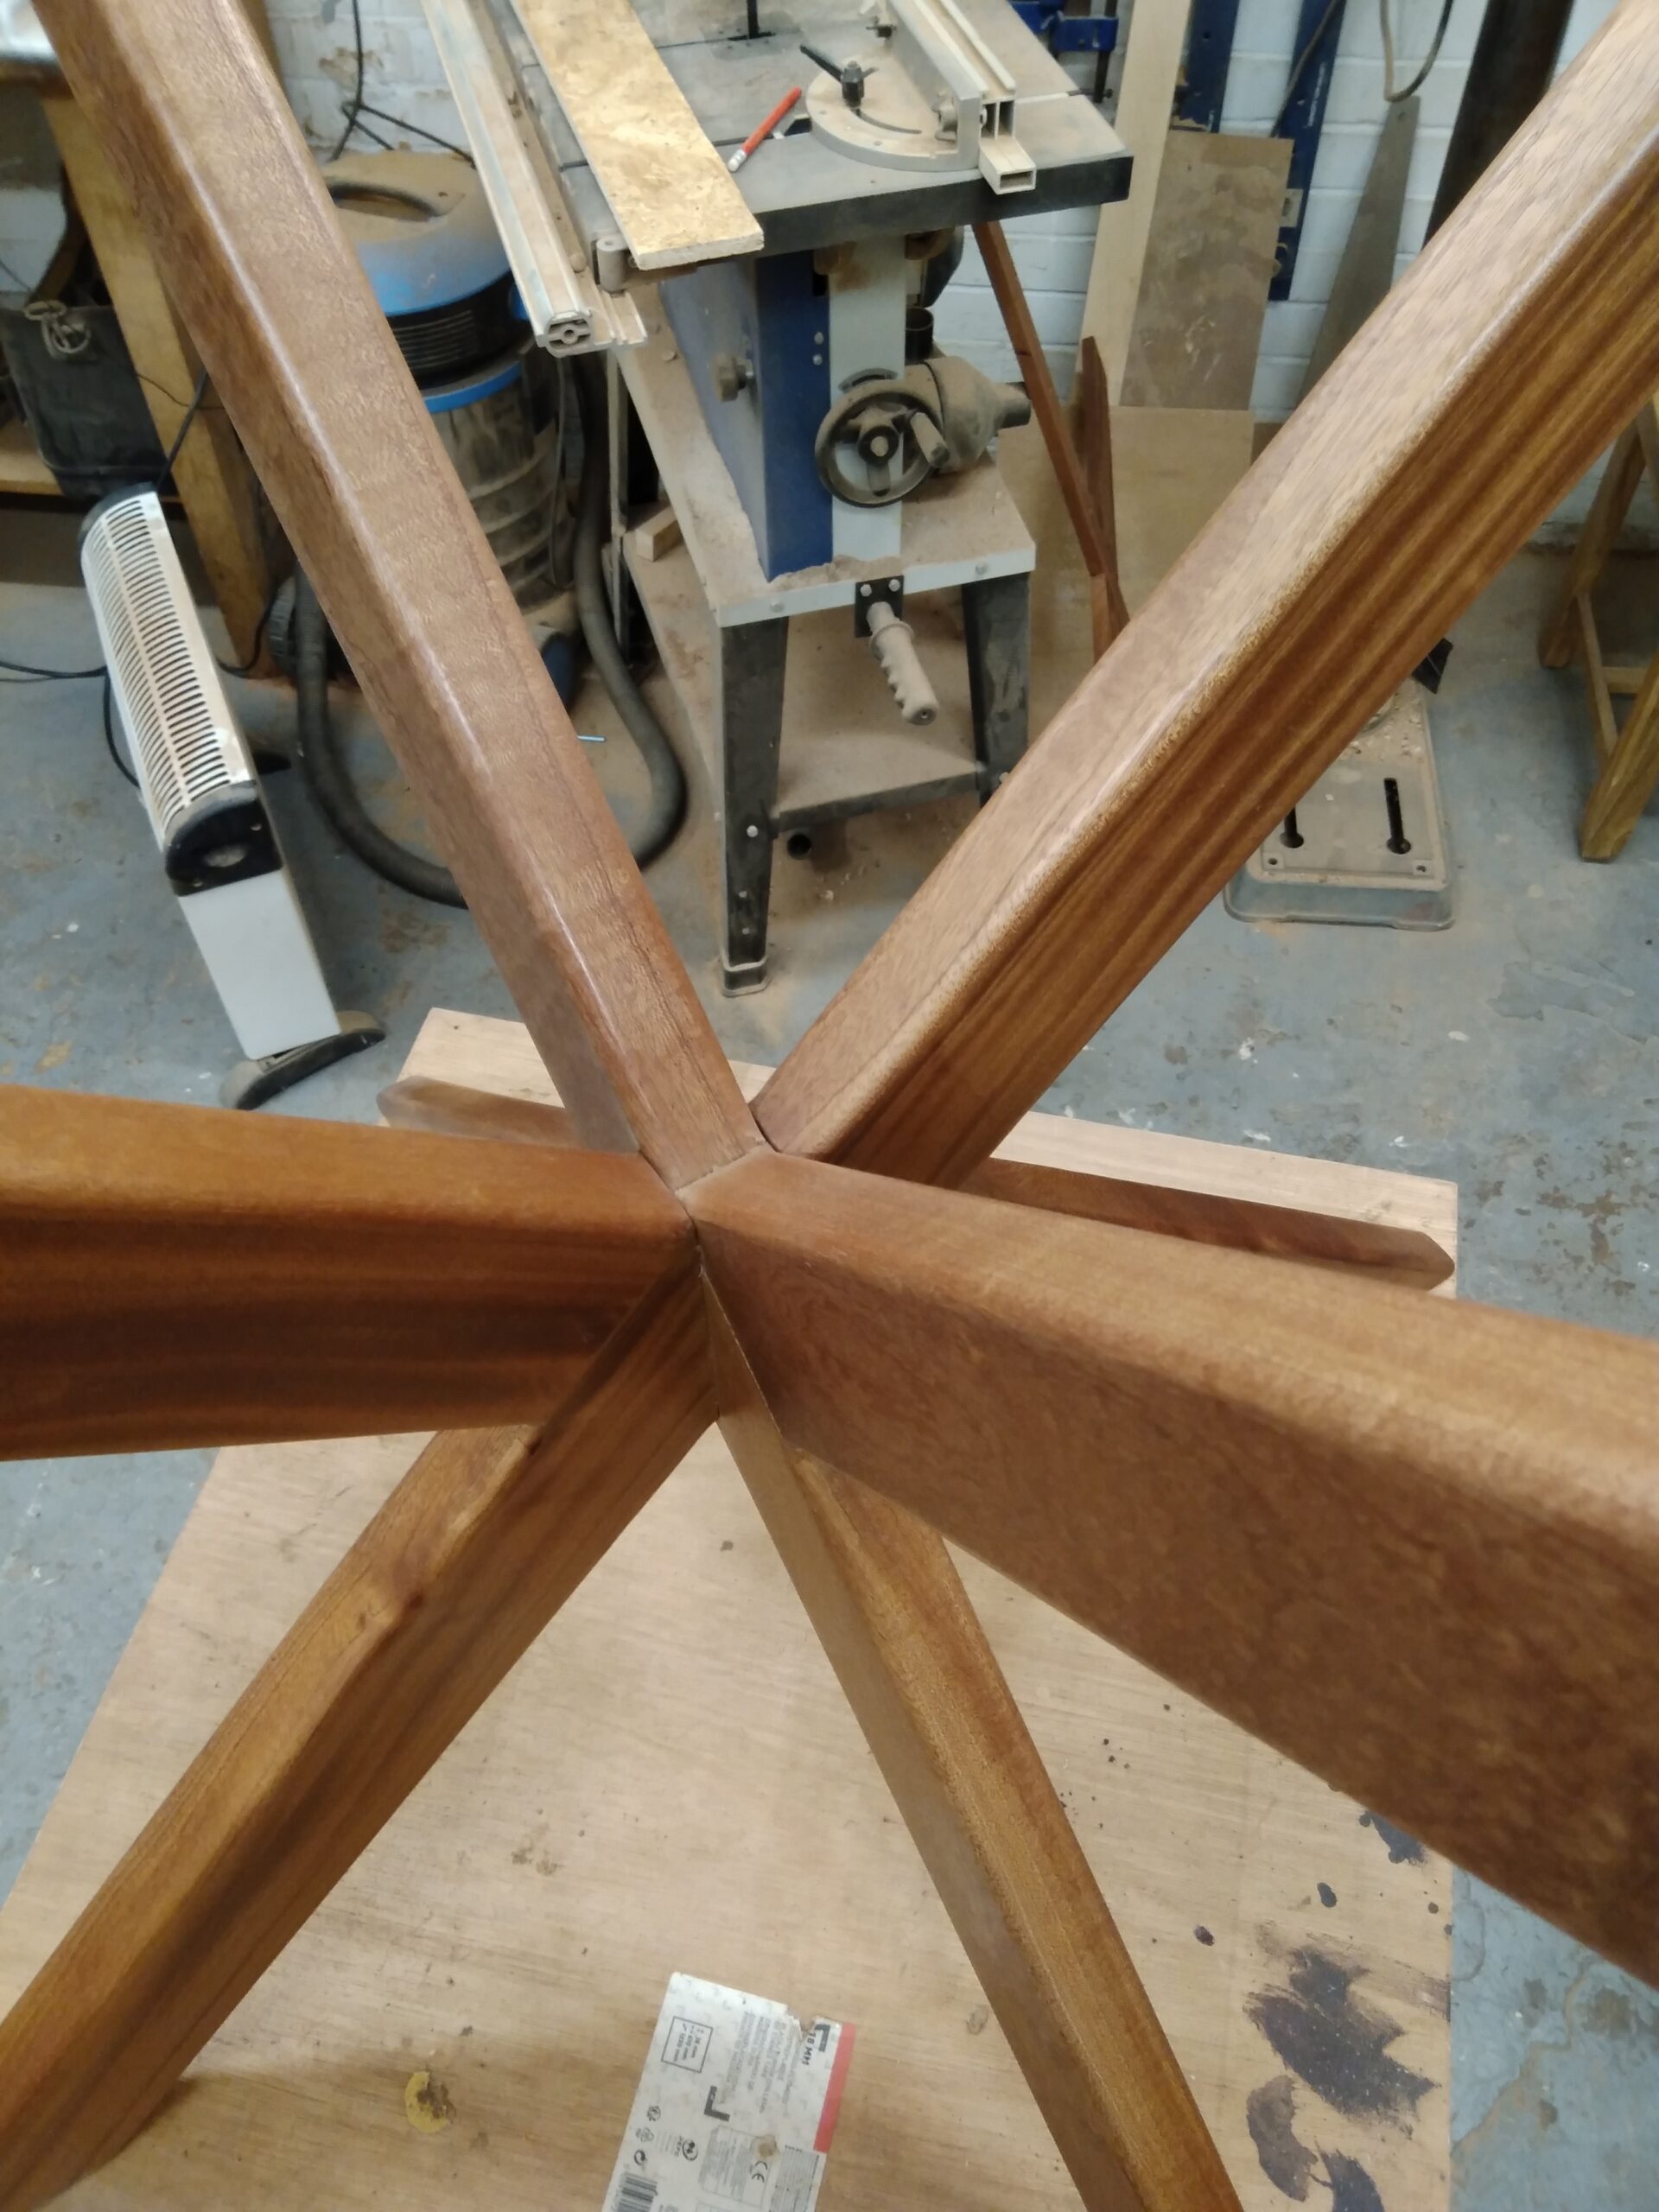
Our customer wanted four legs crossed in their middle: an interesting challenge for our master furniture maker! He started by creating a template of a set of 2 legs, to calculate the height and angles needed to ensure the table’s stability.
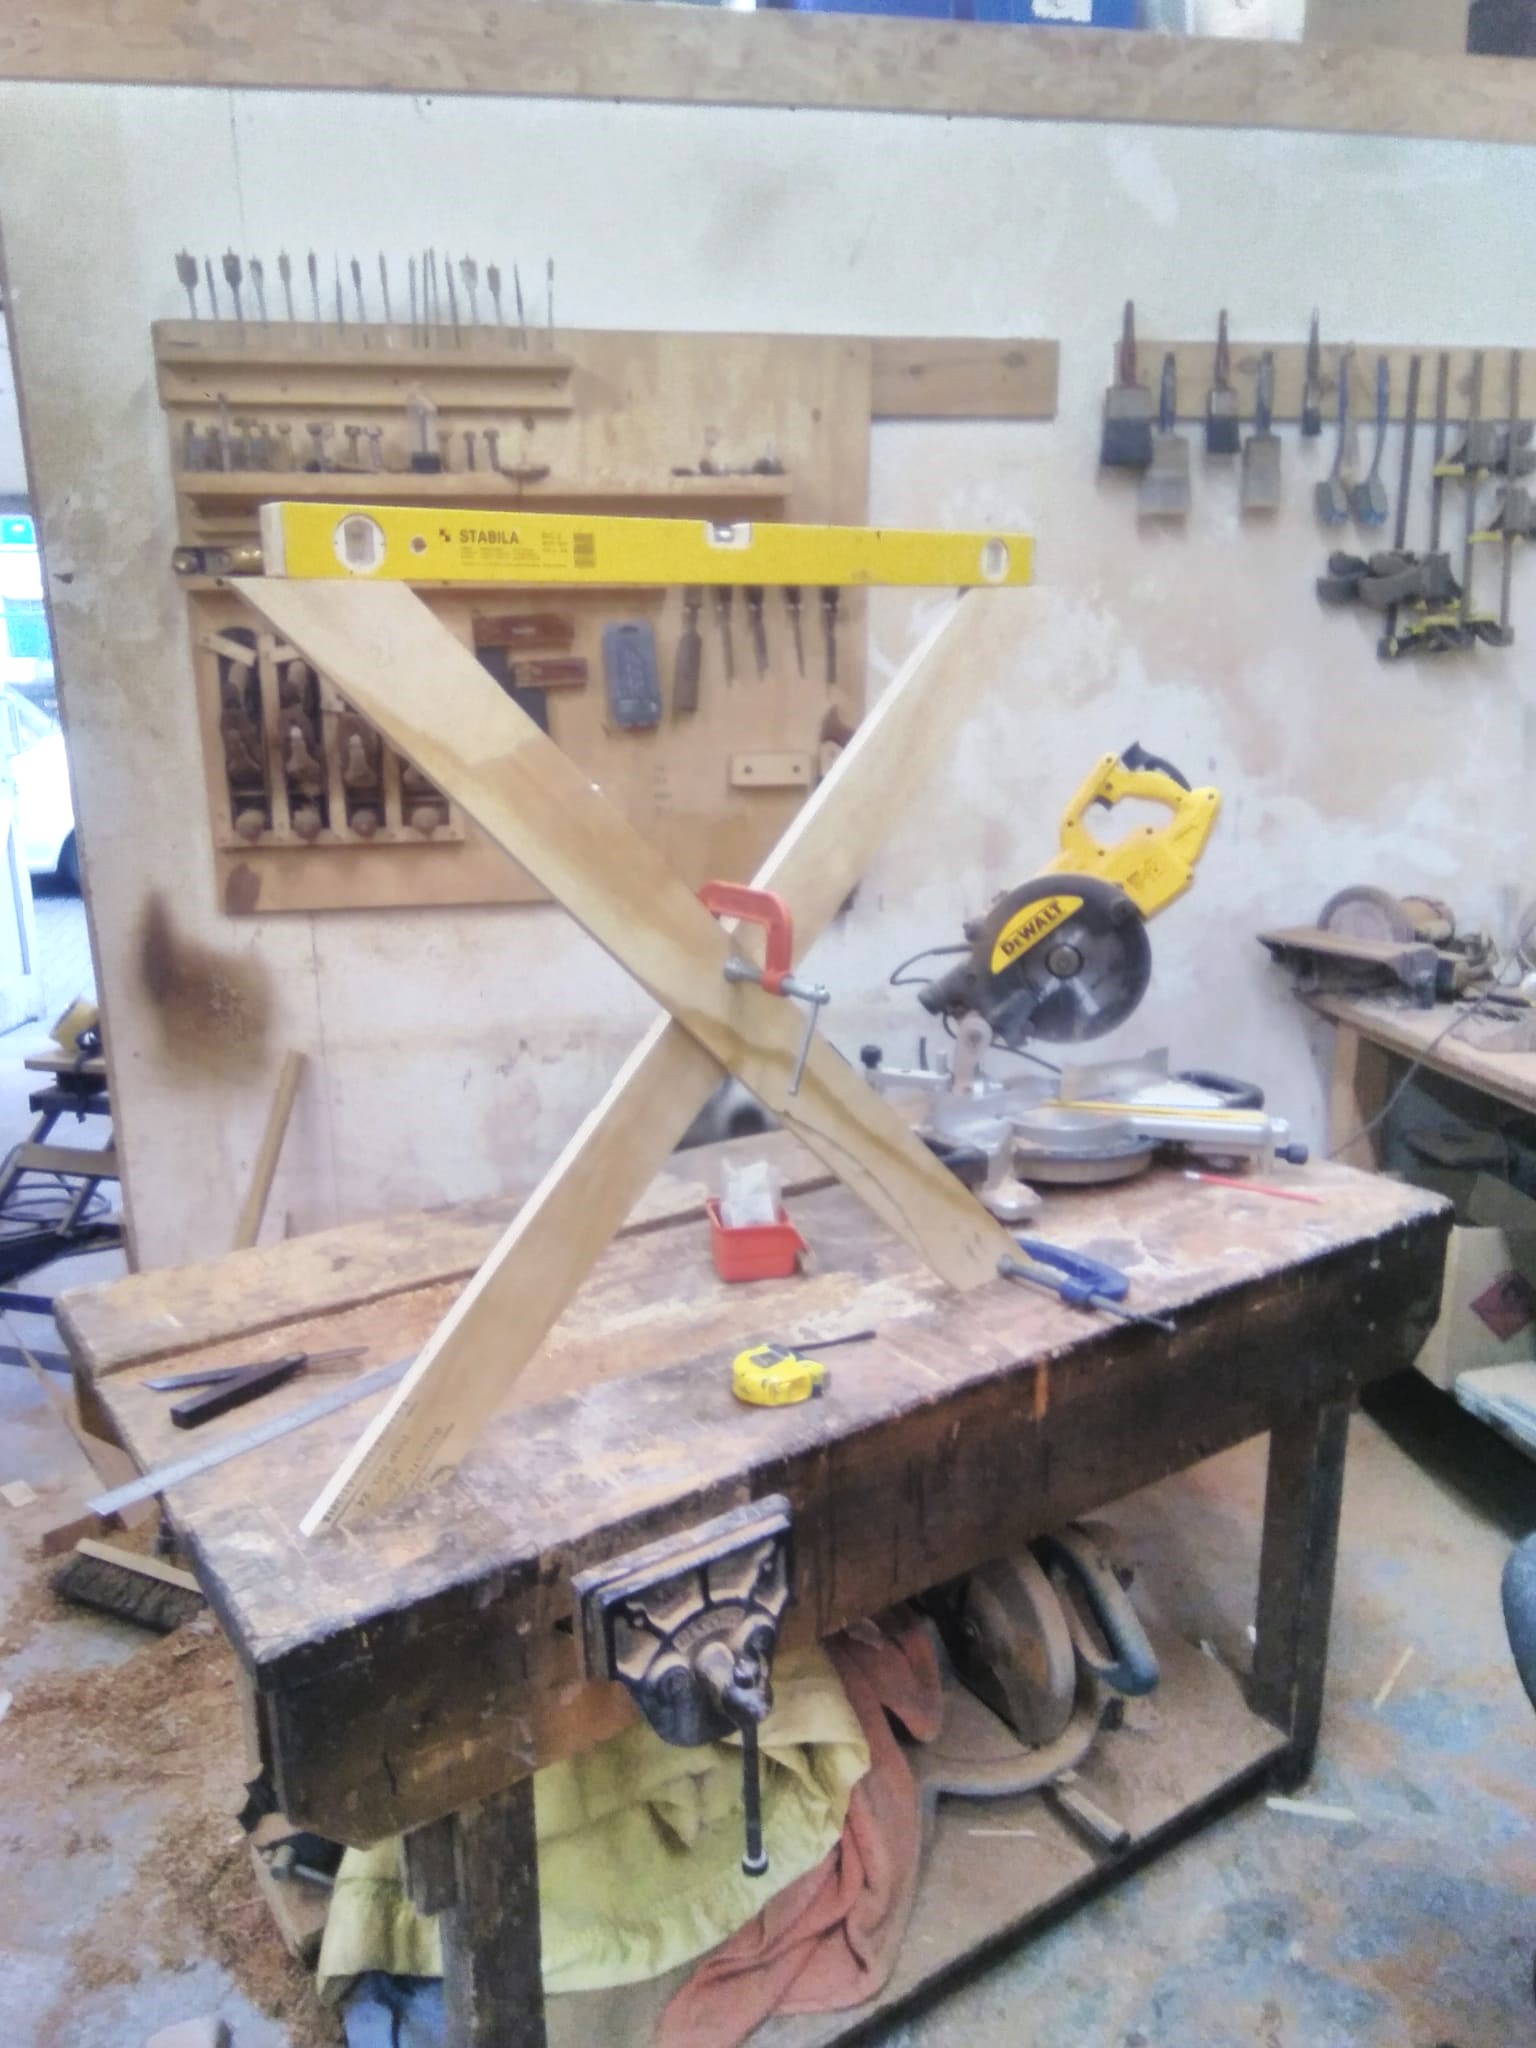
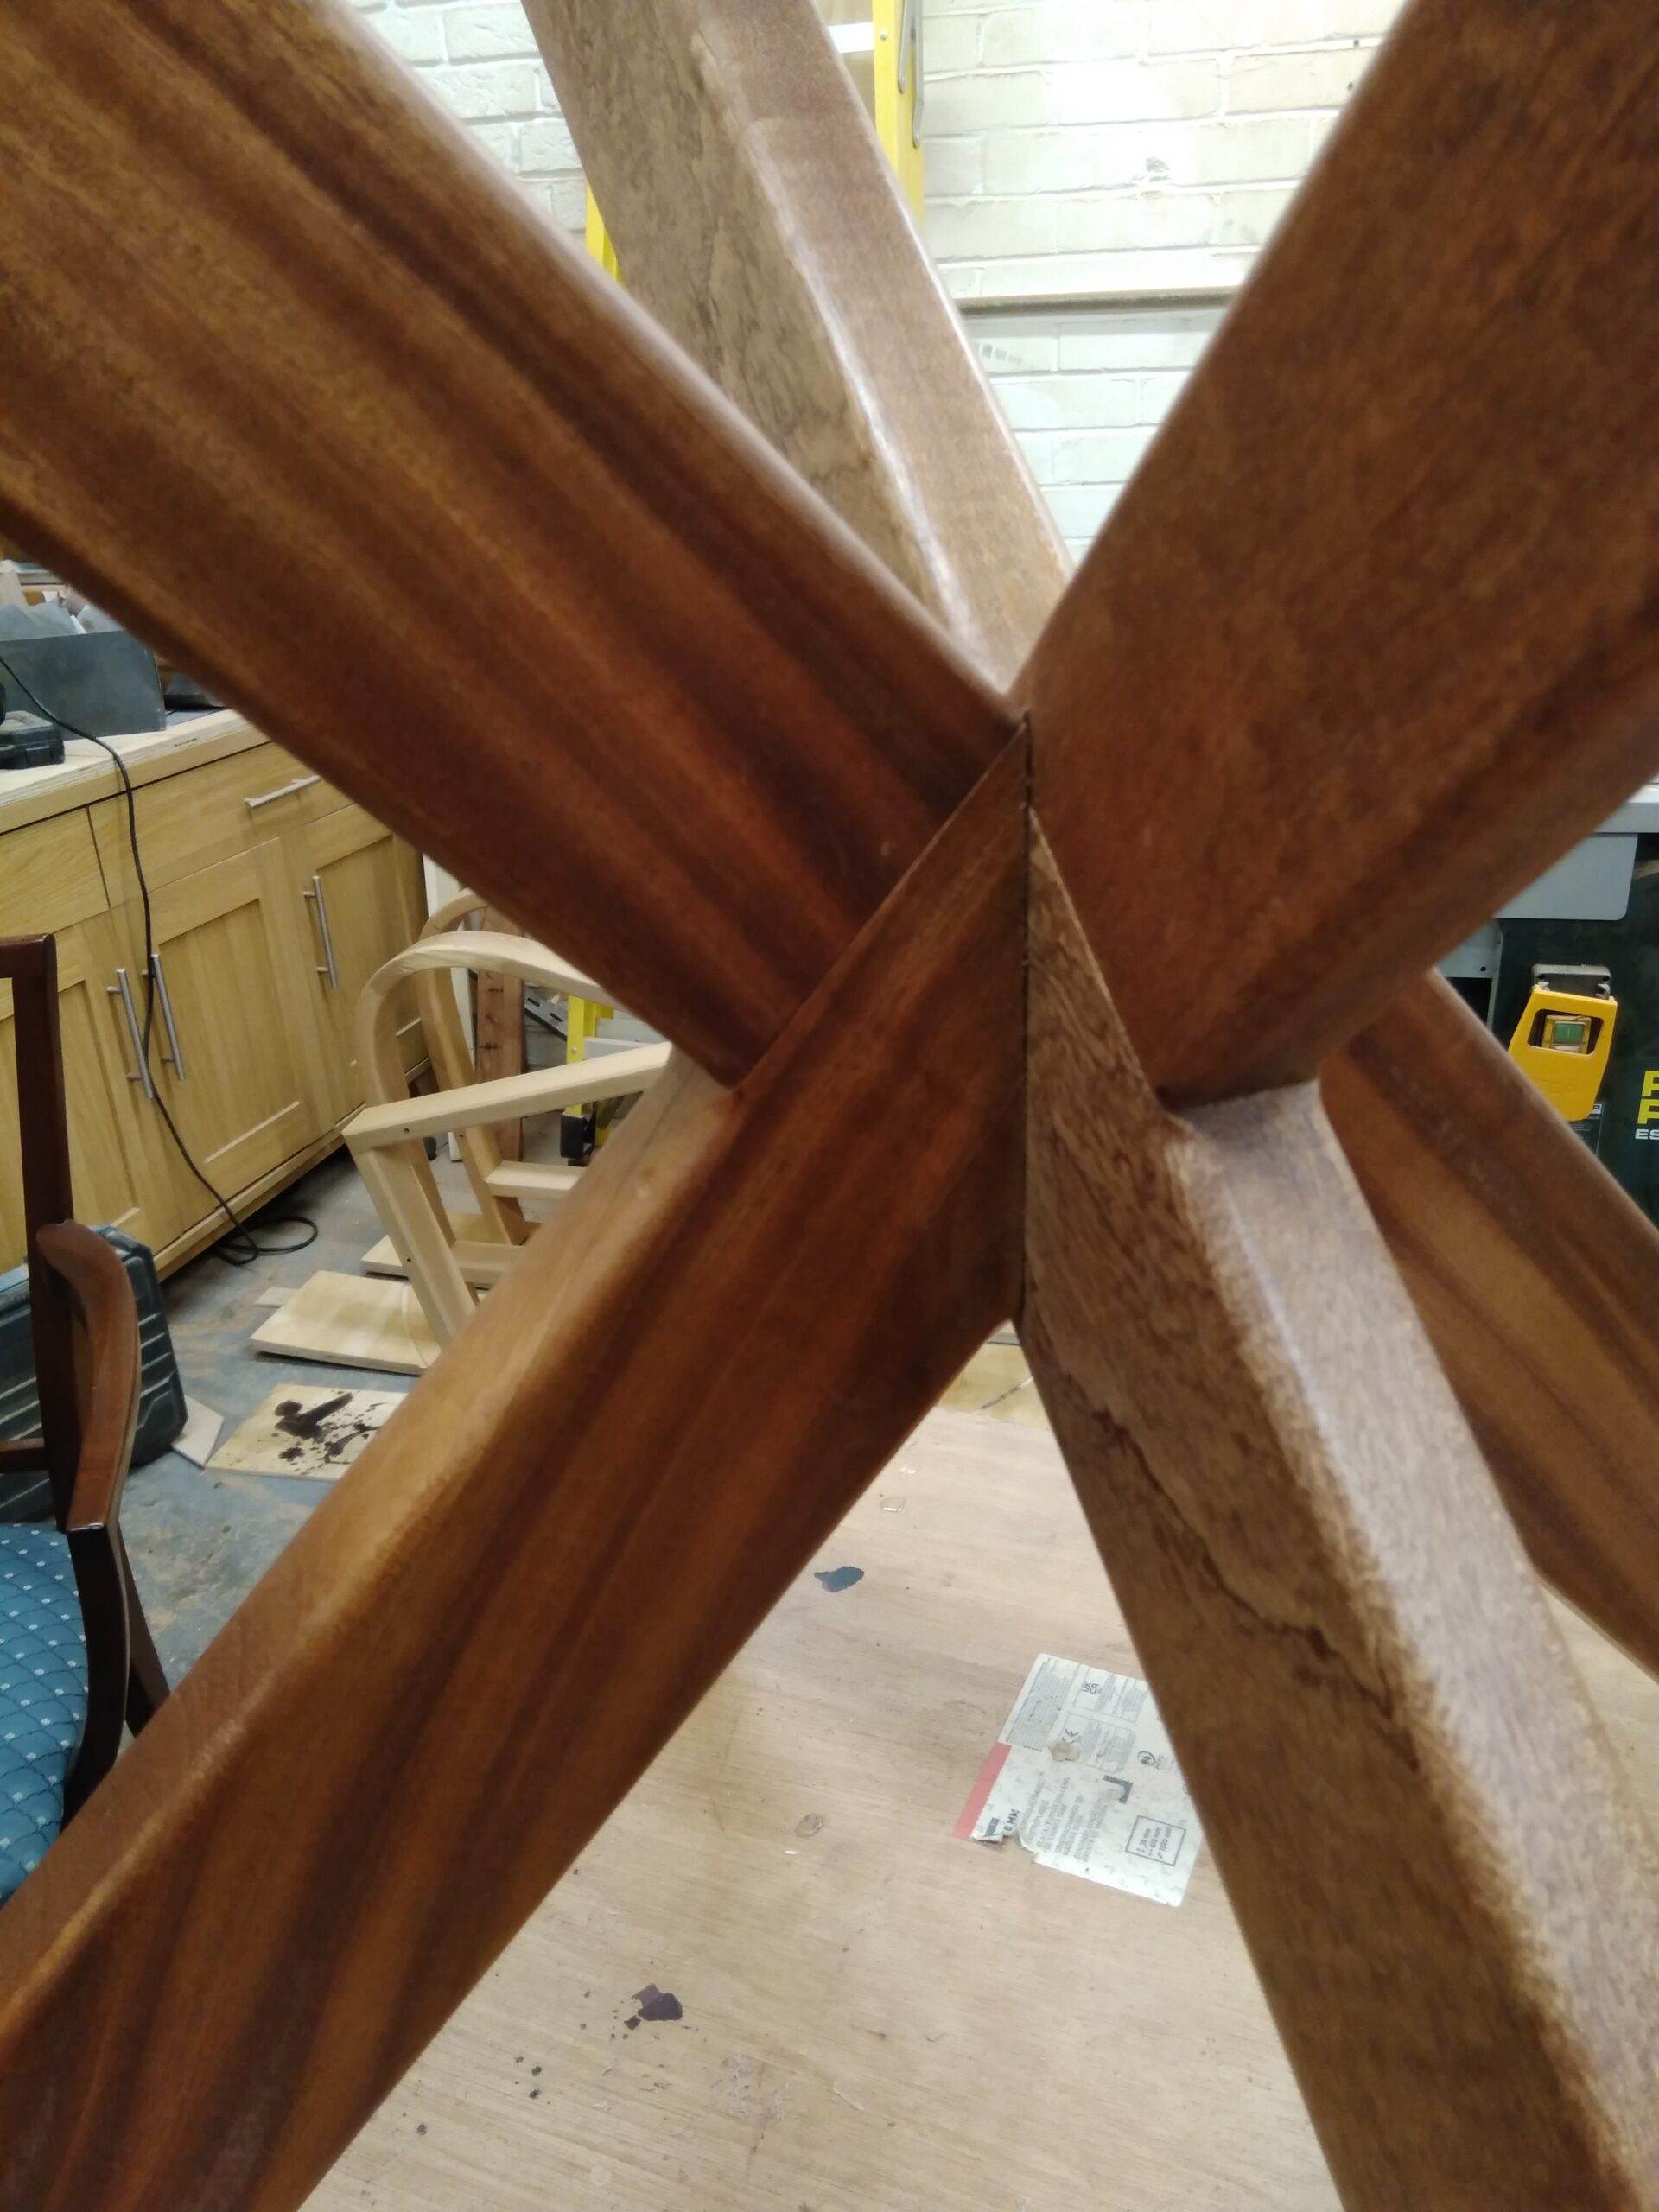
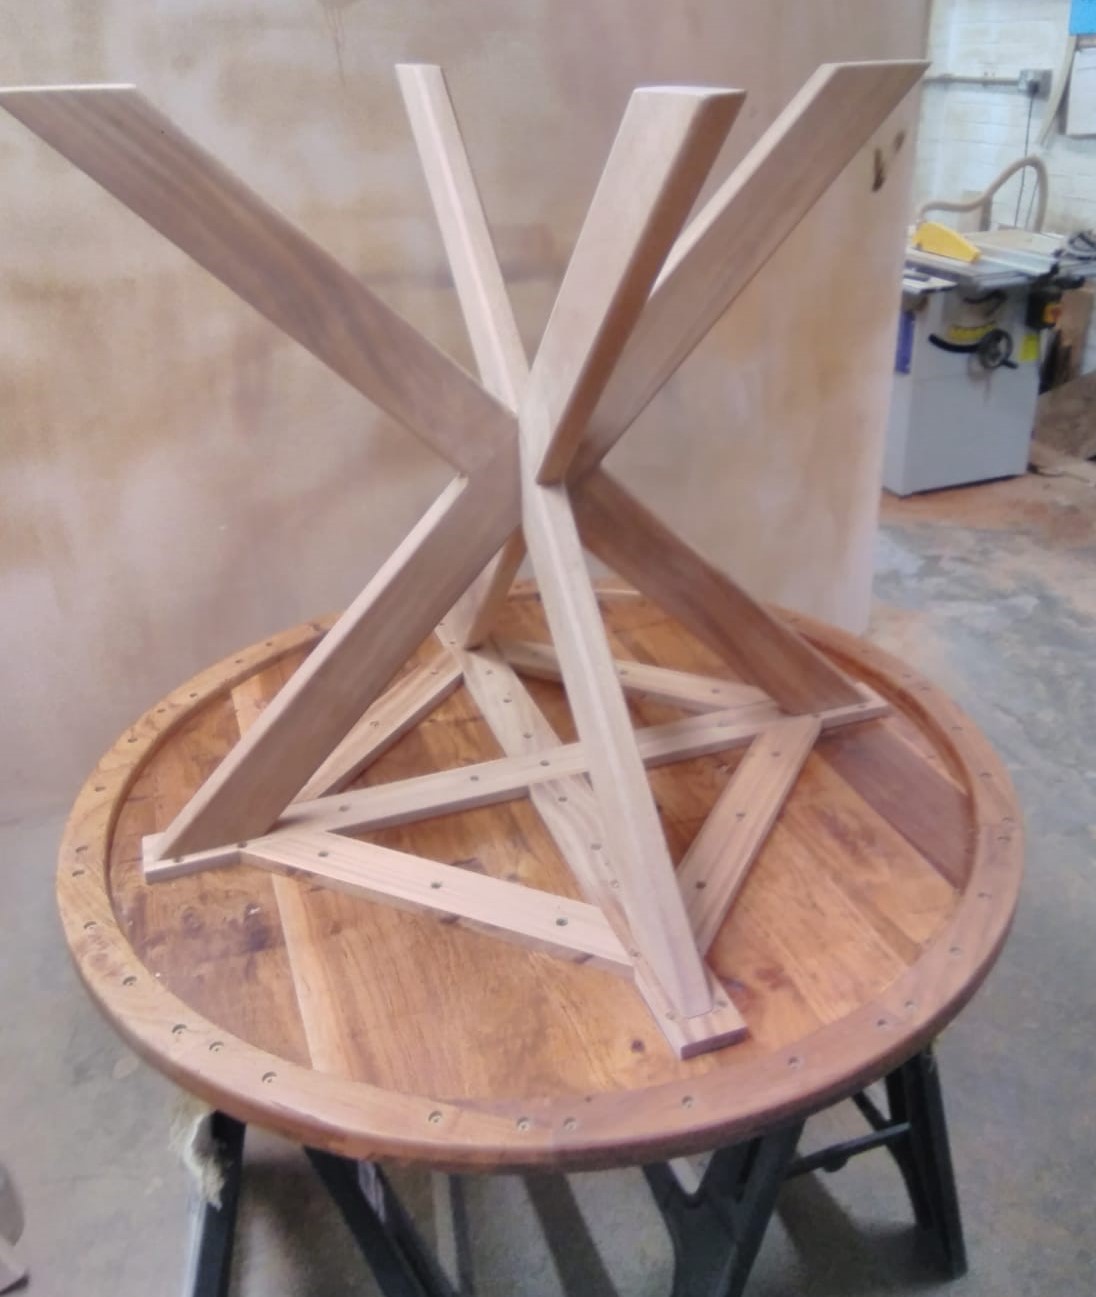
Using this template, he cut the 4 legs needed and then assembled them in 2 pairs of X frames, joined by cross-halves joints.
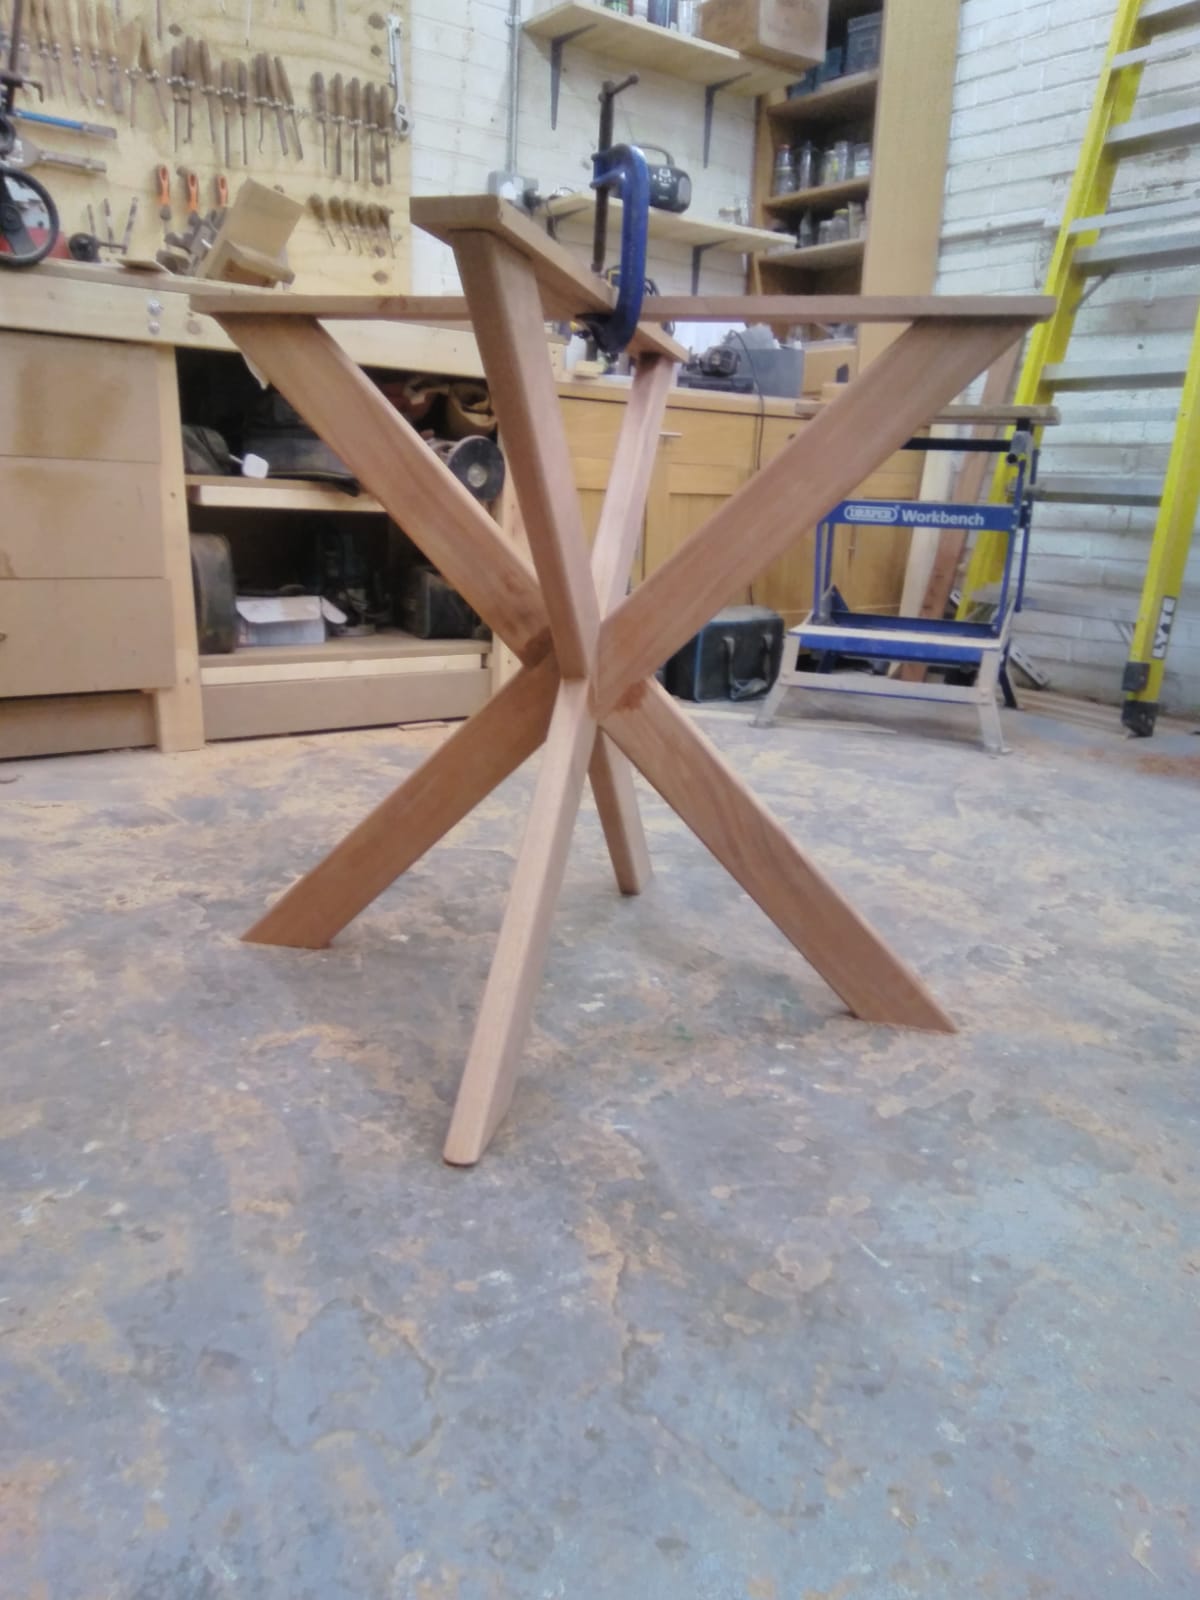
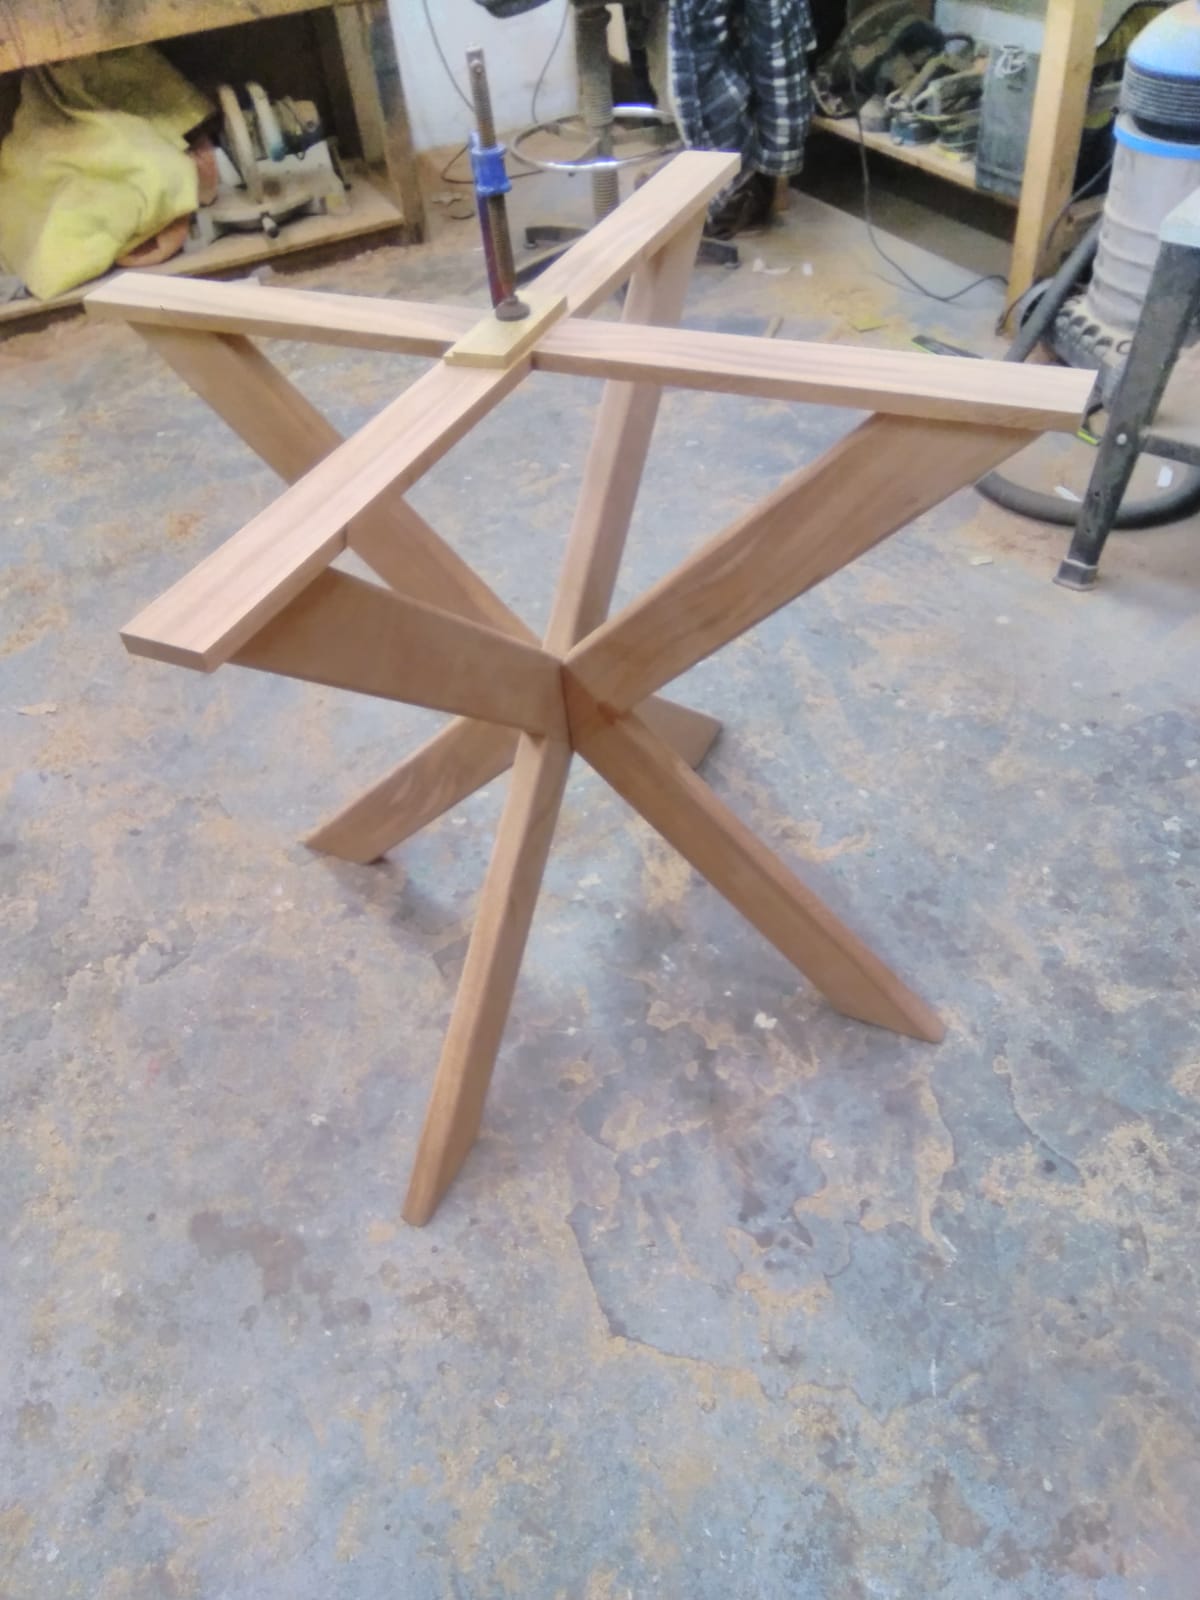
The legs are then screwed to the top.
It is now time to glasspaper and prepare the surface for the finish.
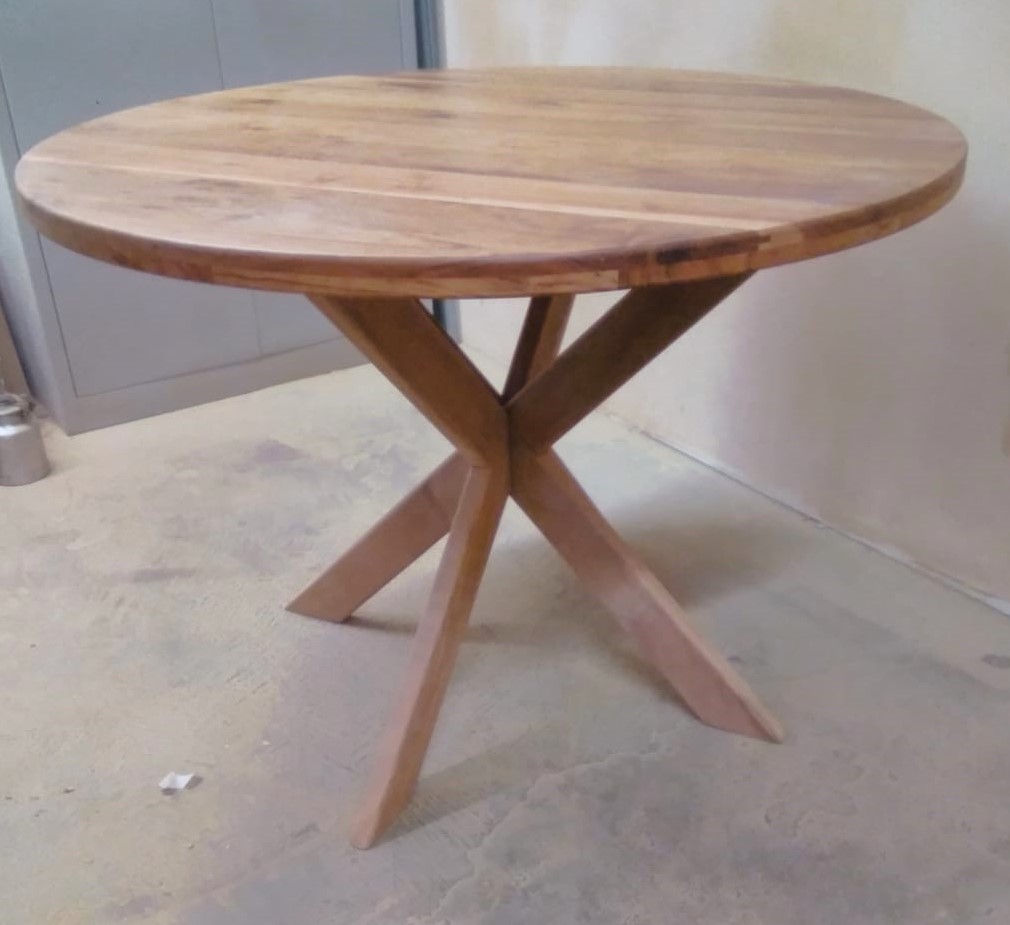
We then applied 4 coats of satin lacquer which enhanced the natural beauty of the timber. Once installed in the customer’s home, this beautiful and elegant table looked perfectly at home.